 Our attic was more or less a multi purpose living and working room… However it lacked windows, we needed more room and a separation between ‘concurrent users’. So we decided to have two dormer-windows installed by a contractor: G. Klaassen B.V. Dakkapellen. We did all the finishing off ourselves, with a lot of help from our friends. For them, as well as other who might be interested in such a rewarding ‘project I’ve assembled the following photo – impression.
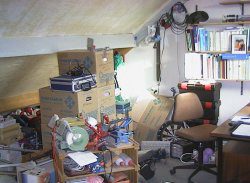
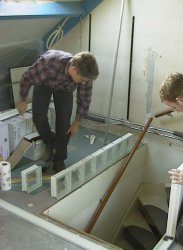
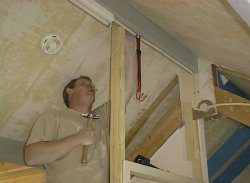
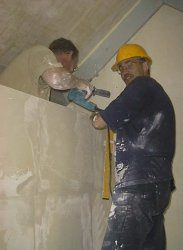
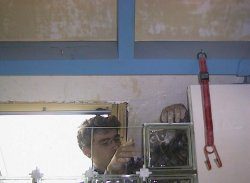
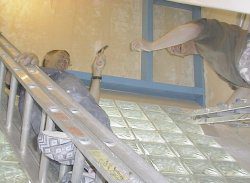
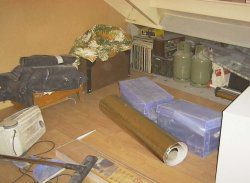
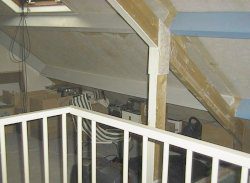
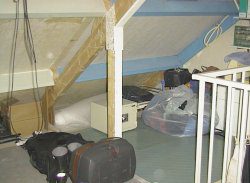
Above: an impression of the attic before the project. Below: the action starts…
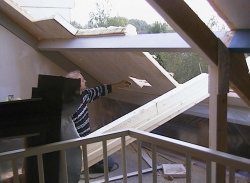
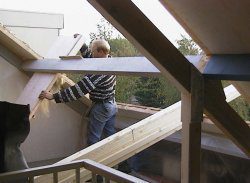
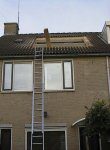
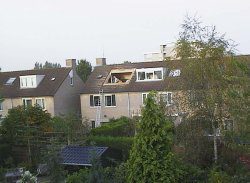
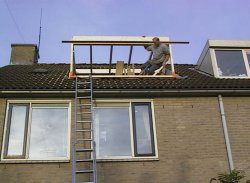

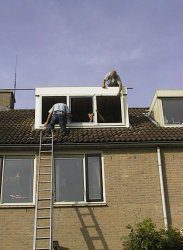
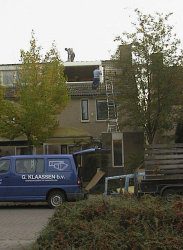
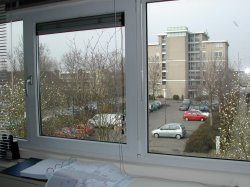
The dormer-windows, on the side of the house facing the street, as well as at the back, were placed during two consecutive mornings! A extra window was placed in the roof too.
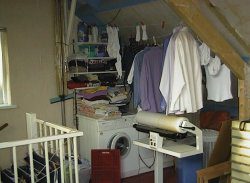
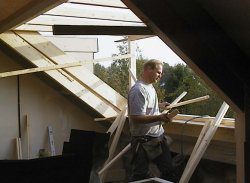
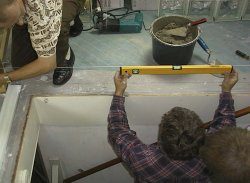
After replacing the holes in the roof with a dormer-window construction our job started. We divided the great space, with windows now facing two sides, in three separate areas. A large sleeping room, facing the back-garden. Second, a small study (I work a lot at home) and third a portal, which houses washing machines etc. So, after carrying all the roof tiles down (they’re heavy!) we carried all the plaster-blocks up (they’re even heavier…) Total weight of the latter: 1.800 kg! After that: the door posts, doors, wood, cement and glass-tiles. Yes, we were to build a ‘glass wall’ too!
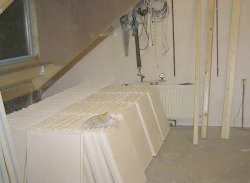


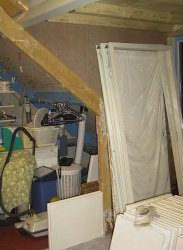
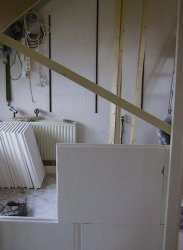
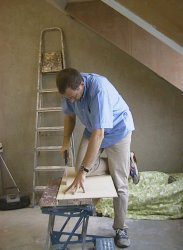
After moving everything up, putting the material to use was the next challenge. By the way, if you’re wondering where all the stuff stored in the attic has been moved to? Well, let’s say that the interior in our living and bedrooms was disrupted for a few weeks…
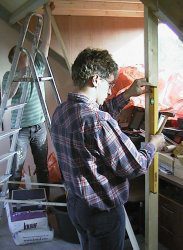
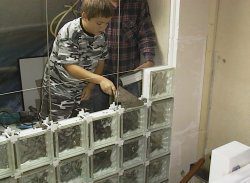
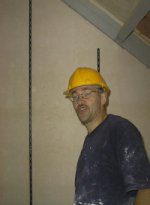
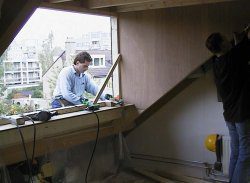
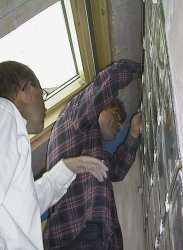
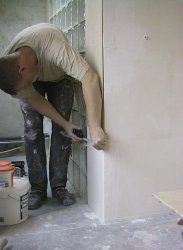
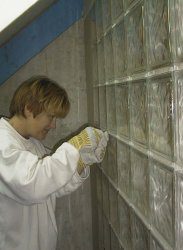
While bars made of steel are inserted in the construction, Yorick lends a hand too! For those of you who wonder… yes, a glass wall looks great but building is time consuming. You can’t complete more than three or four rows a day. The cement has to harden to prevent the wall from collapsing.
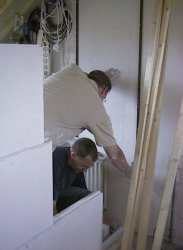
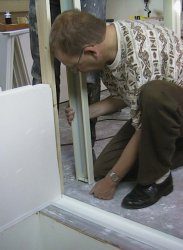
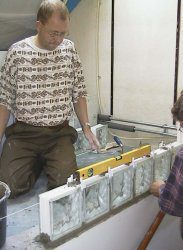
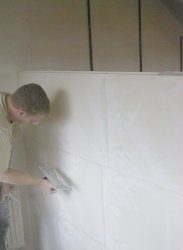
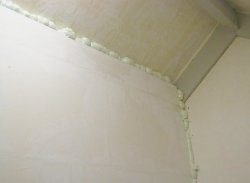
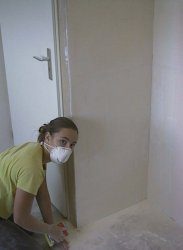
Below: With the wall starting to shape, every portion is carefully plastered. The wall is anchored at several points to the (concrete) walls of the house. All remaining spaces are either plastered, or sealed using building foam.
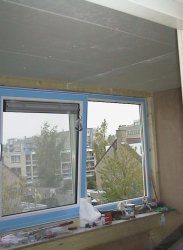
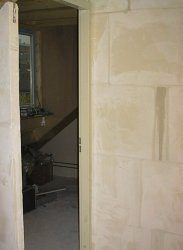

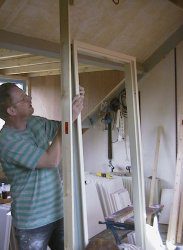
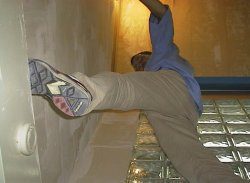
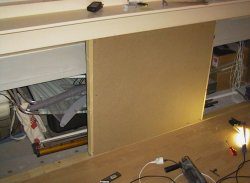
With the doorposts fixed solidly in the walls… Plaster – plates are put up against the ceiling in the dormer – windows.
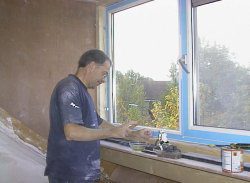
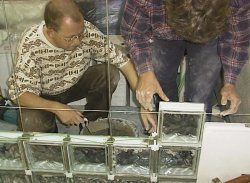
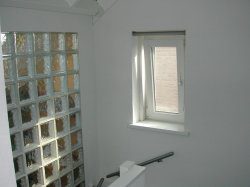
The ‘glass wall’ is finished by Paul and Hans, while Paul puts rulers around the windowframe. Yes, MDF again..


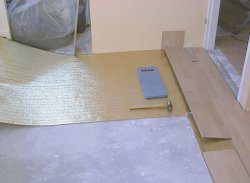
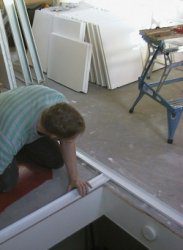
The floor was covered with (air)foil, preventing moist and – especially – noise! Covered by laminated wood (mdf).
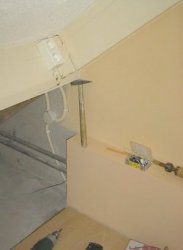
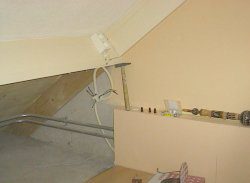
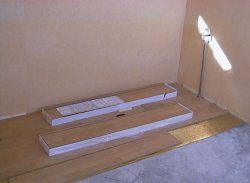
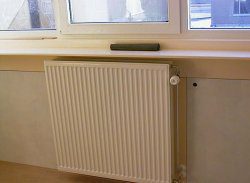
All plumbing and cabling (heating, electricity, computer network, television) is covered by a wooden frame and mdf – plating… While the woodwork is also an ideal place to fix electricity outlets and hide AC, television and network cabling behind…A heating element will be installed in the large bedroom, directly under the main window. It has to be fixed on a strong wooden frame, again, covered with MDF plating.
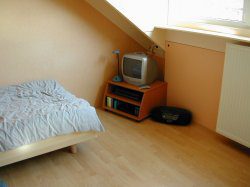
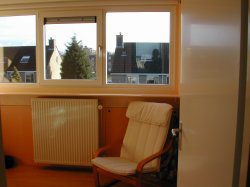
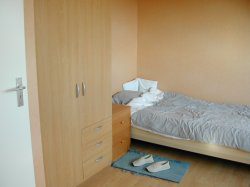
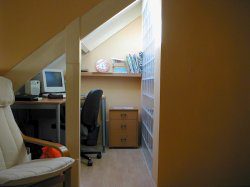
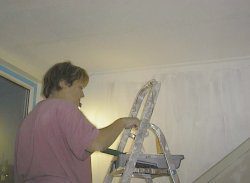
with the paint hardly dry, furniture is moved in..
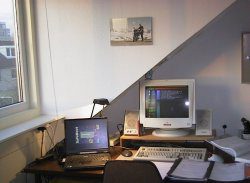
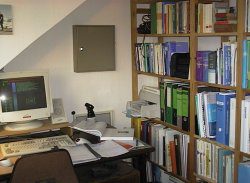
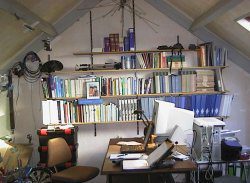
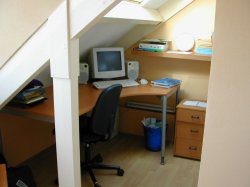
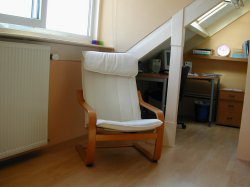
The ‘study’ became a nice place too…
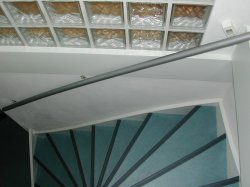
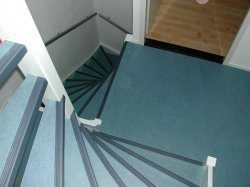
The stairway was given a ‘face – lift’ as well!